As readers will know, I regularly post oil and water pictures on my blog. I have completed a couple of sessions and now have a new set of pictures to share. The differences in these photos lie in the various backgrounds I have used. These backgrounds come from several sources, including magazines, children’s books, and abstract colour pictures that I have created in Photoshop.
The use of LED lights in the background has worked in this picture
I am also improving how I use the light source and am working to prevent the reflections that occasionally compromised the quality of previous photos. LED lights were used in some of the pictures. Although they mostly overpowered the images of the oil drops, though there was the occasional success. Switching to another brand of oil may have helped but, again I am unsure whether this is truly critical to the success of the pictures.
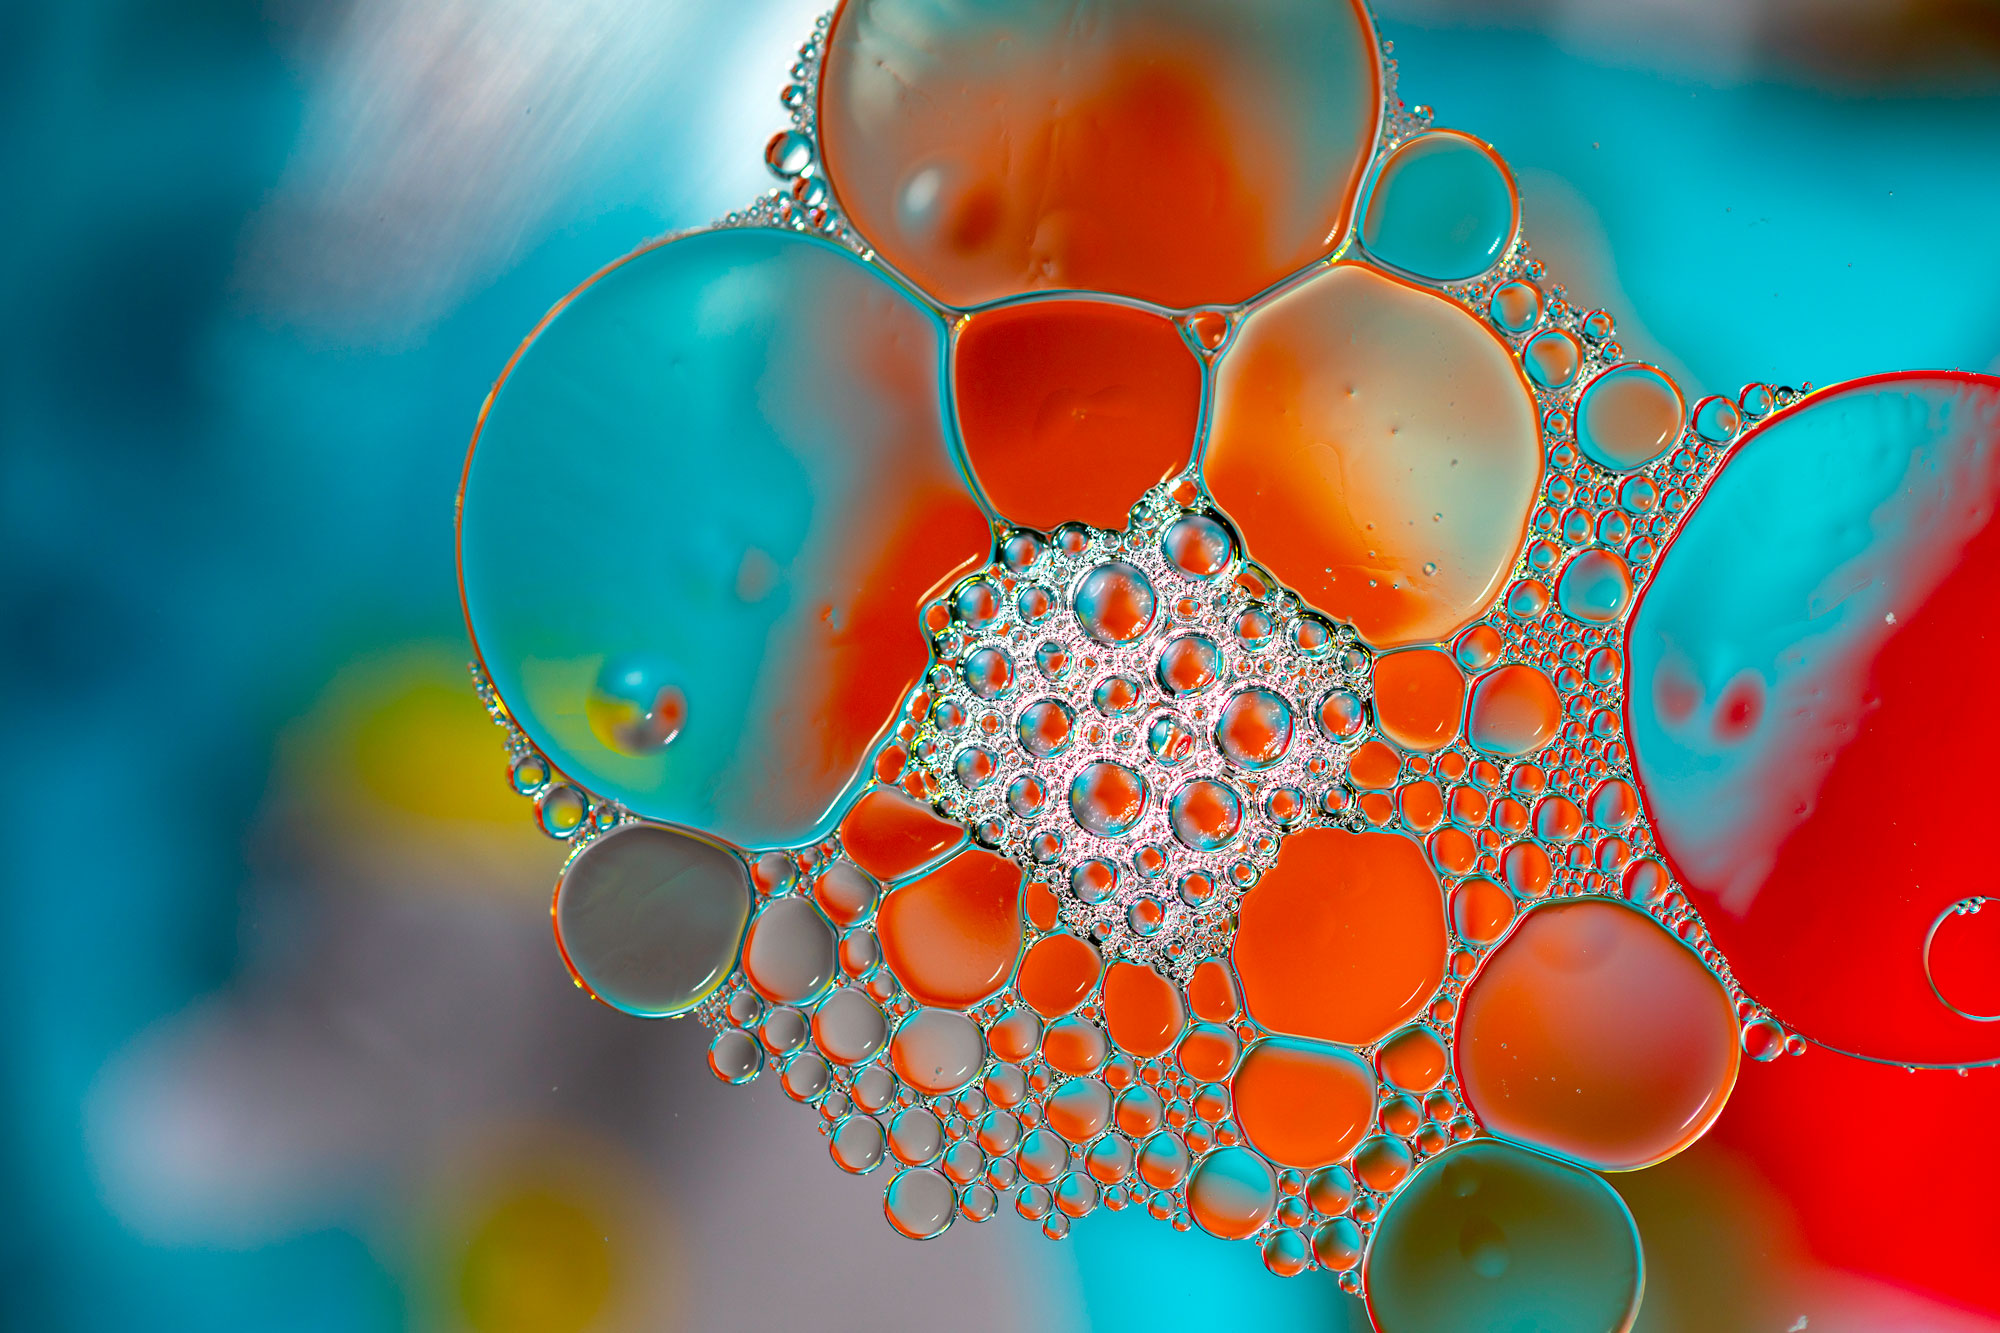
A colourful black hole.A background of some lips from a magazine cover was used for this picture.Compartments of colour.An exposed centre.
I use a spirit level app on my iPhone placed on the top to ensure the lens is at 90 degrees to the surface of the water. A large open aperture ensures that the maximum light is hitting the sensor. However, at f/2.8 your depth of field becomes narrow so focussing and positioning of the lens is critical to a sharp picture. Good technique helps reduce ISO noise and allows more information to be retained in the image which again will undergo cropping to get the desired photograph.
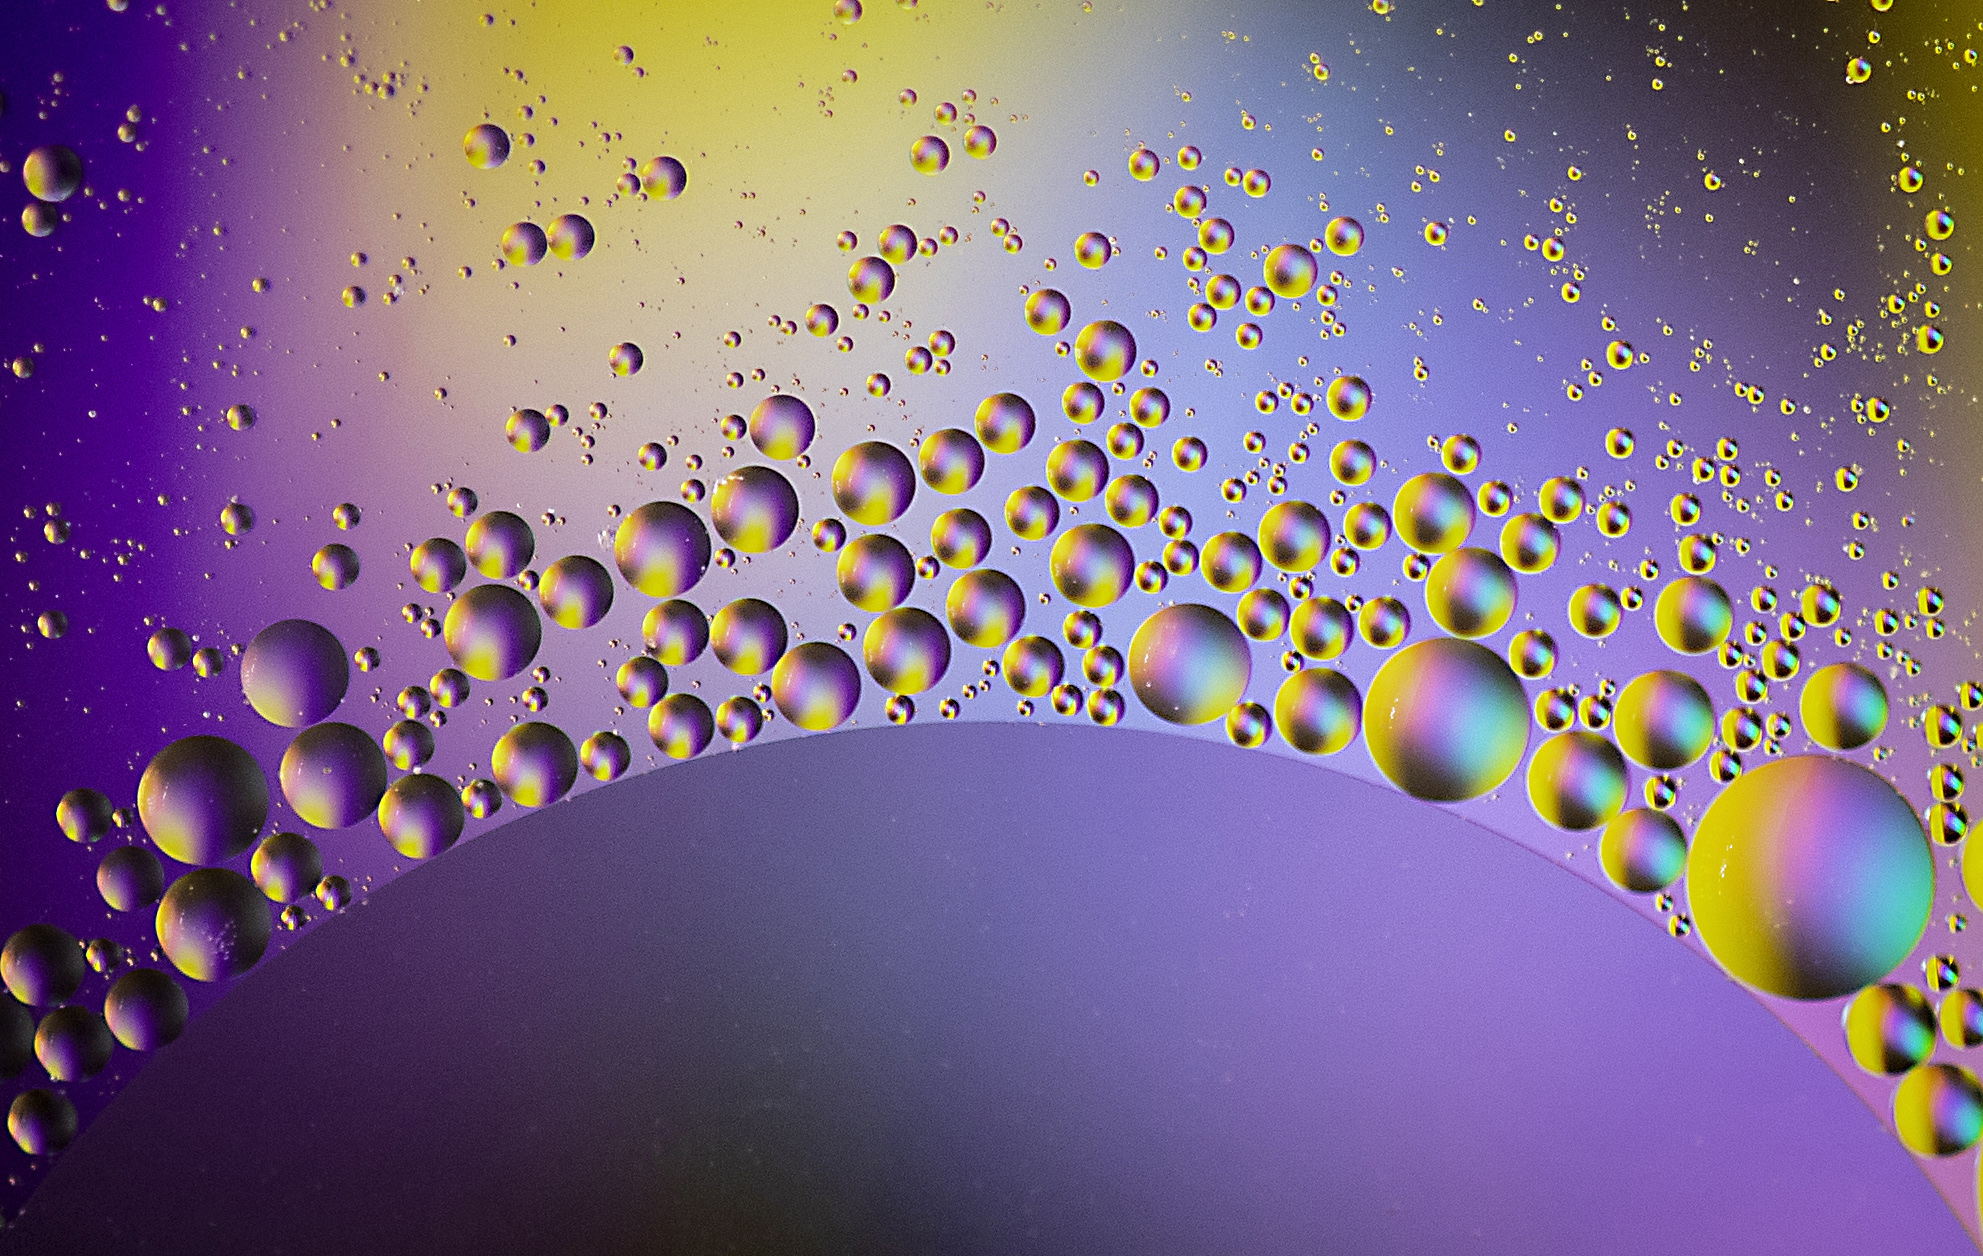
A cluster of moons around larger planets.
I hope you enjoy the current crop of pictures (pardon the pun).
Here are a few more oil and water pictures to enjoy.
I love linking pictures to songs from my youth, and Talking Heads were a big influence on my musical tastes after seeing them back in 1978 at the then Manchester Polytechnic. Even more surprising was that the support band was Dire Straits—but I digress. The title of the song “(Nothing but) Flowers” ties in nicely with the following set of photographs.
A dark approach to the series.
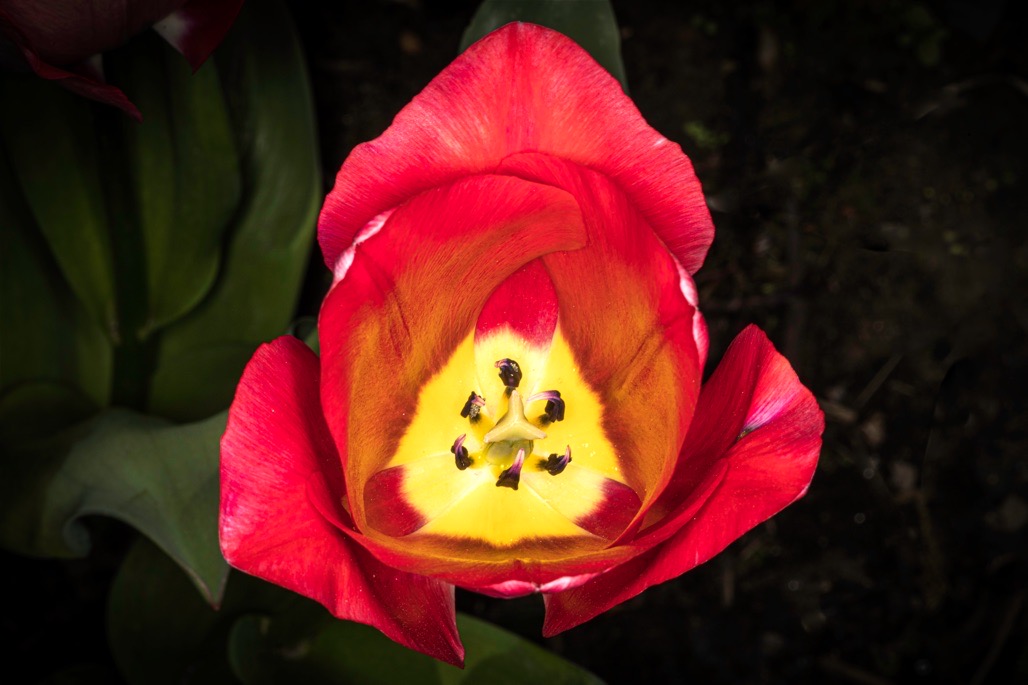
I am not the best gardener, but I do enjoy taking pictures of flowers—both cultivated and wild varieties. With the fine weather, spring has arrived and many of the flowers in my garden are in full bloom. I was keen to take pictures of them but with a slight twist in composition. With photography, setting yourself a mini project is fun. My aim with this set of pictures was to complete a macro series looking closely at the flowers in my garden.
Unsure what is happening here but fun to photograph.
I have a 100mm Canon macro lens set up with a ring flash, and it works well on my Canon 5D Mk IV. I was taught by the best how to use ring flash photography for my dentistry work, and this Canon macro setup has served me well over the years. My settings for this series were aperture f/22, shutter speed 1/100 sec, and ISO 100. Flash power varied between 1/1 and ¼ depending on the available light. I prefer the manual flash setting for this work as I am able to control the amount of light on the subject.
A dramatic clash of colours.
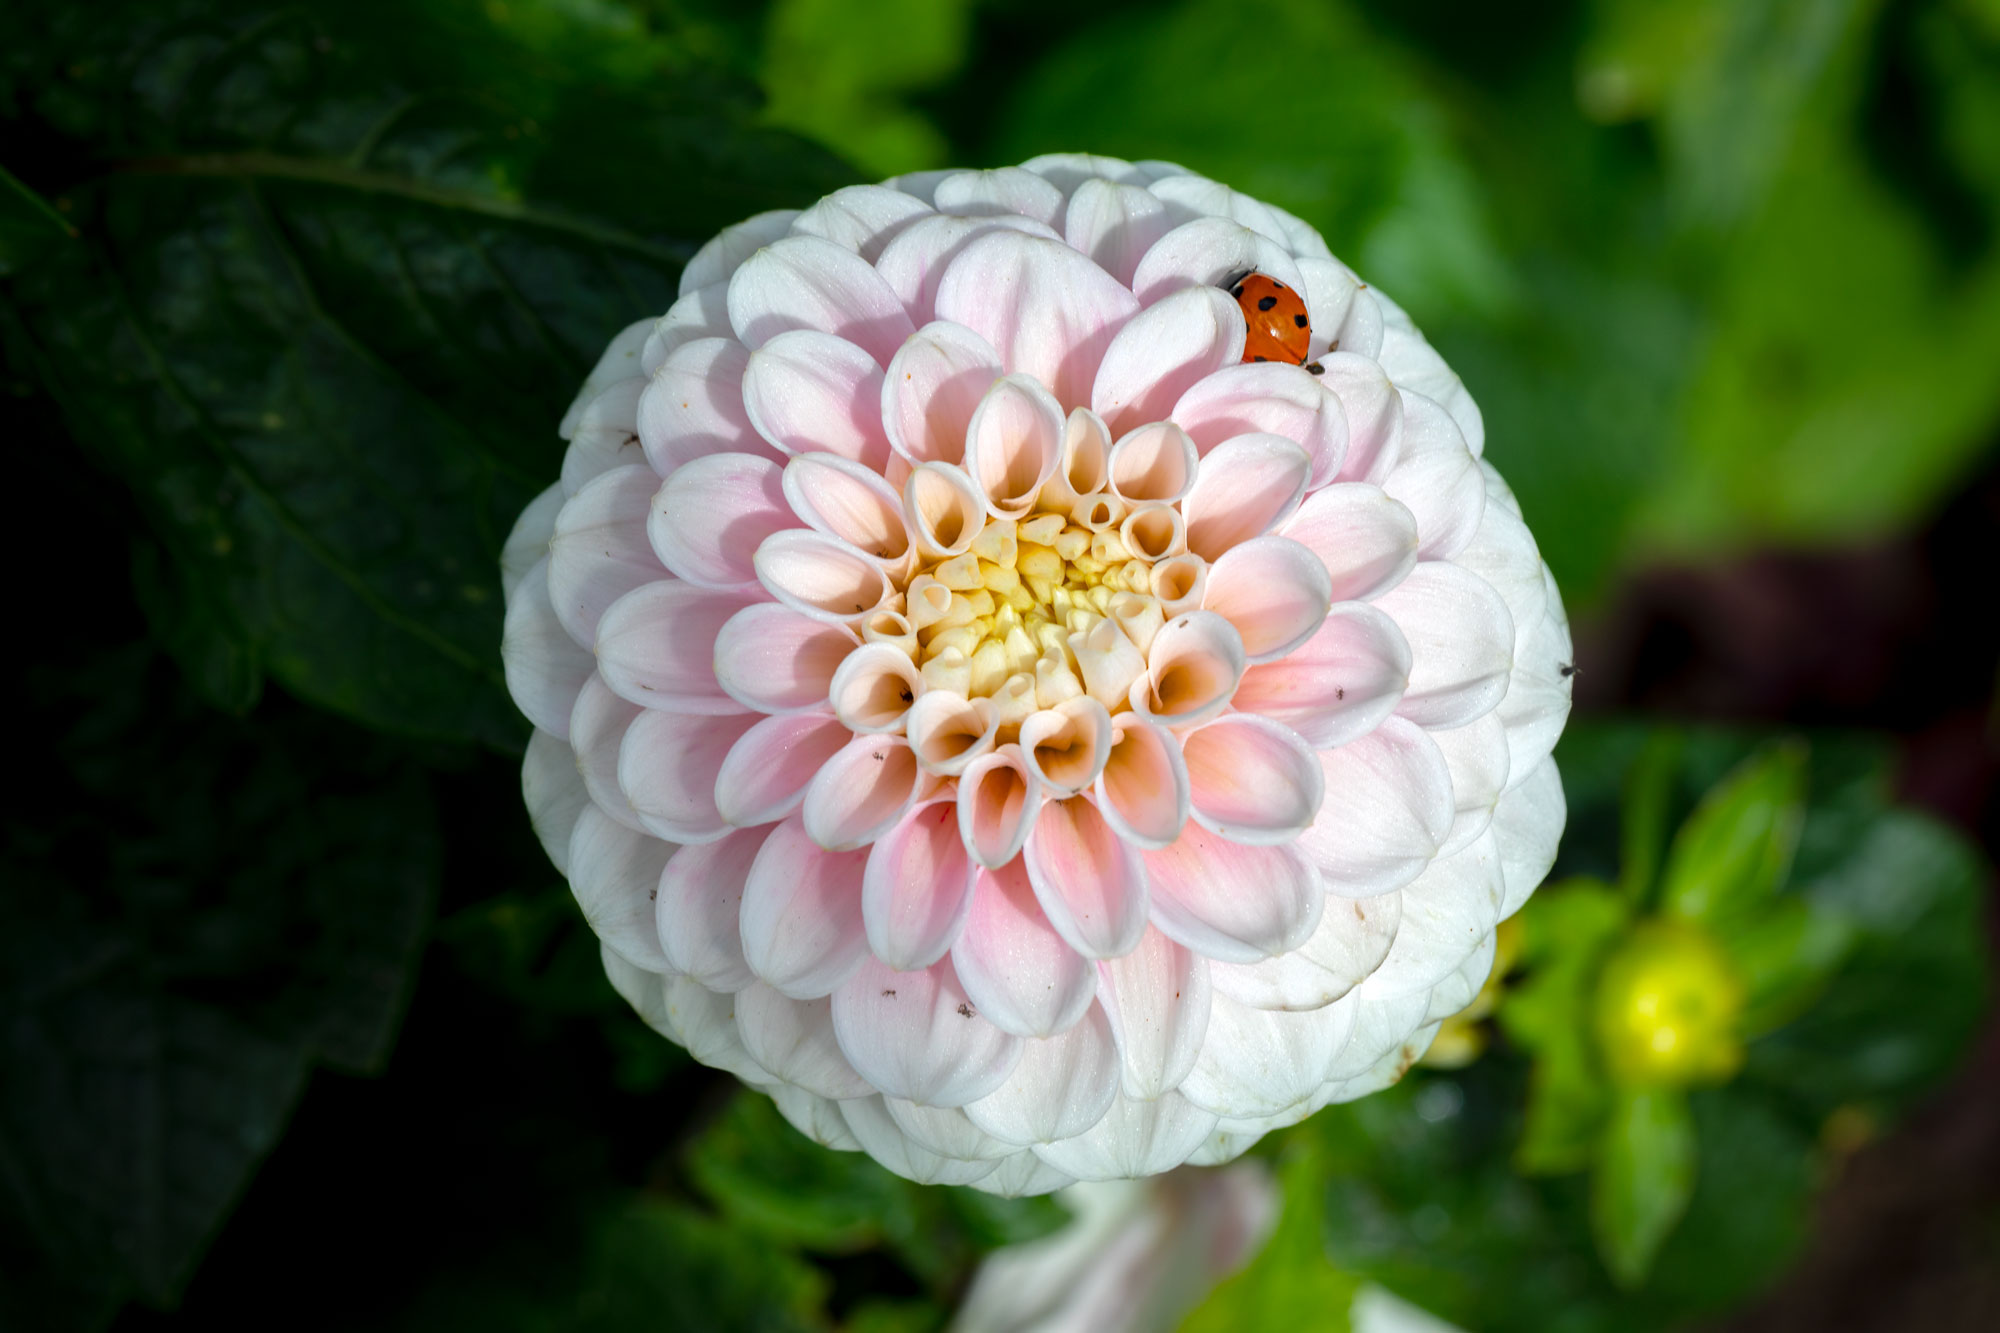
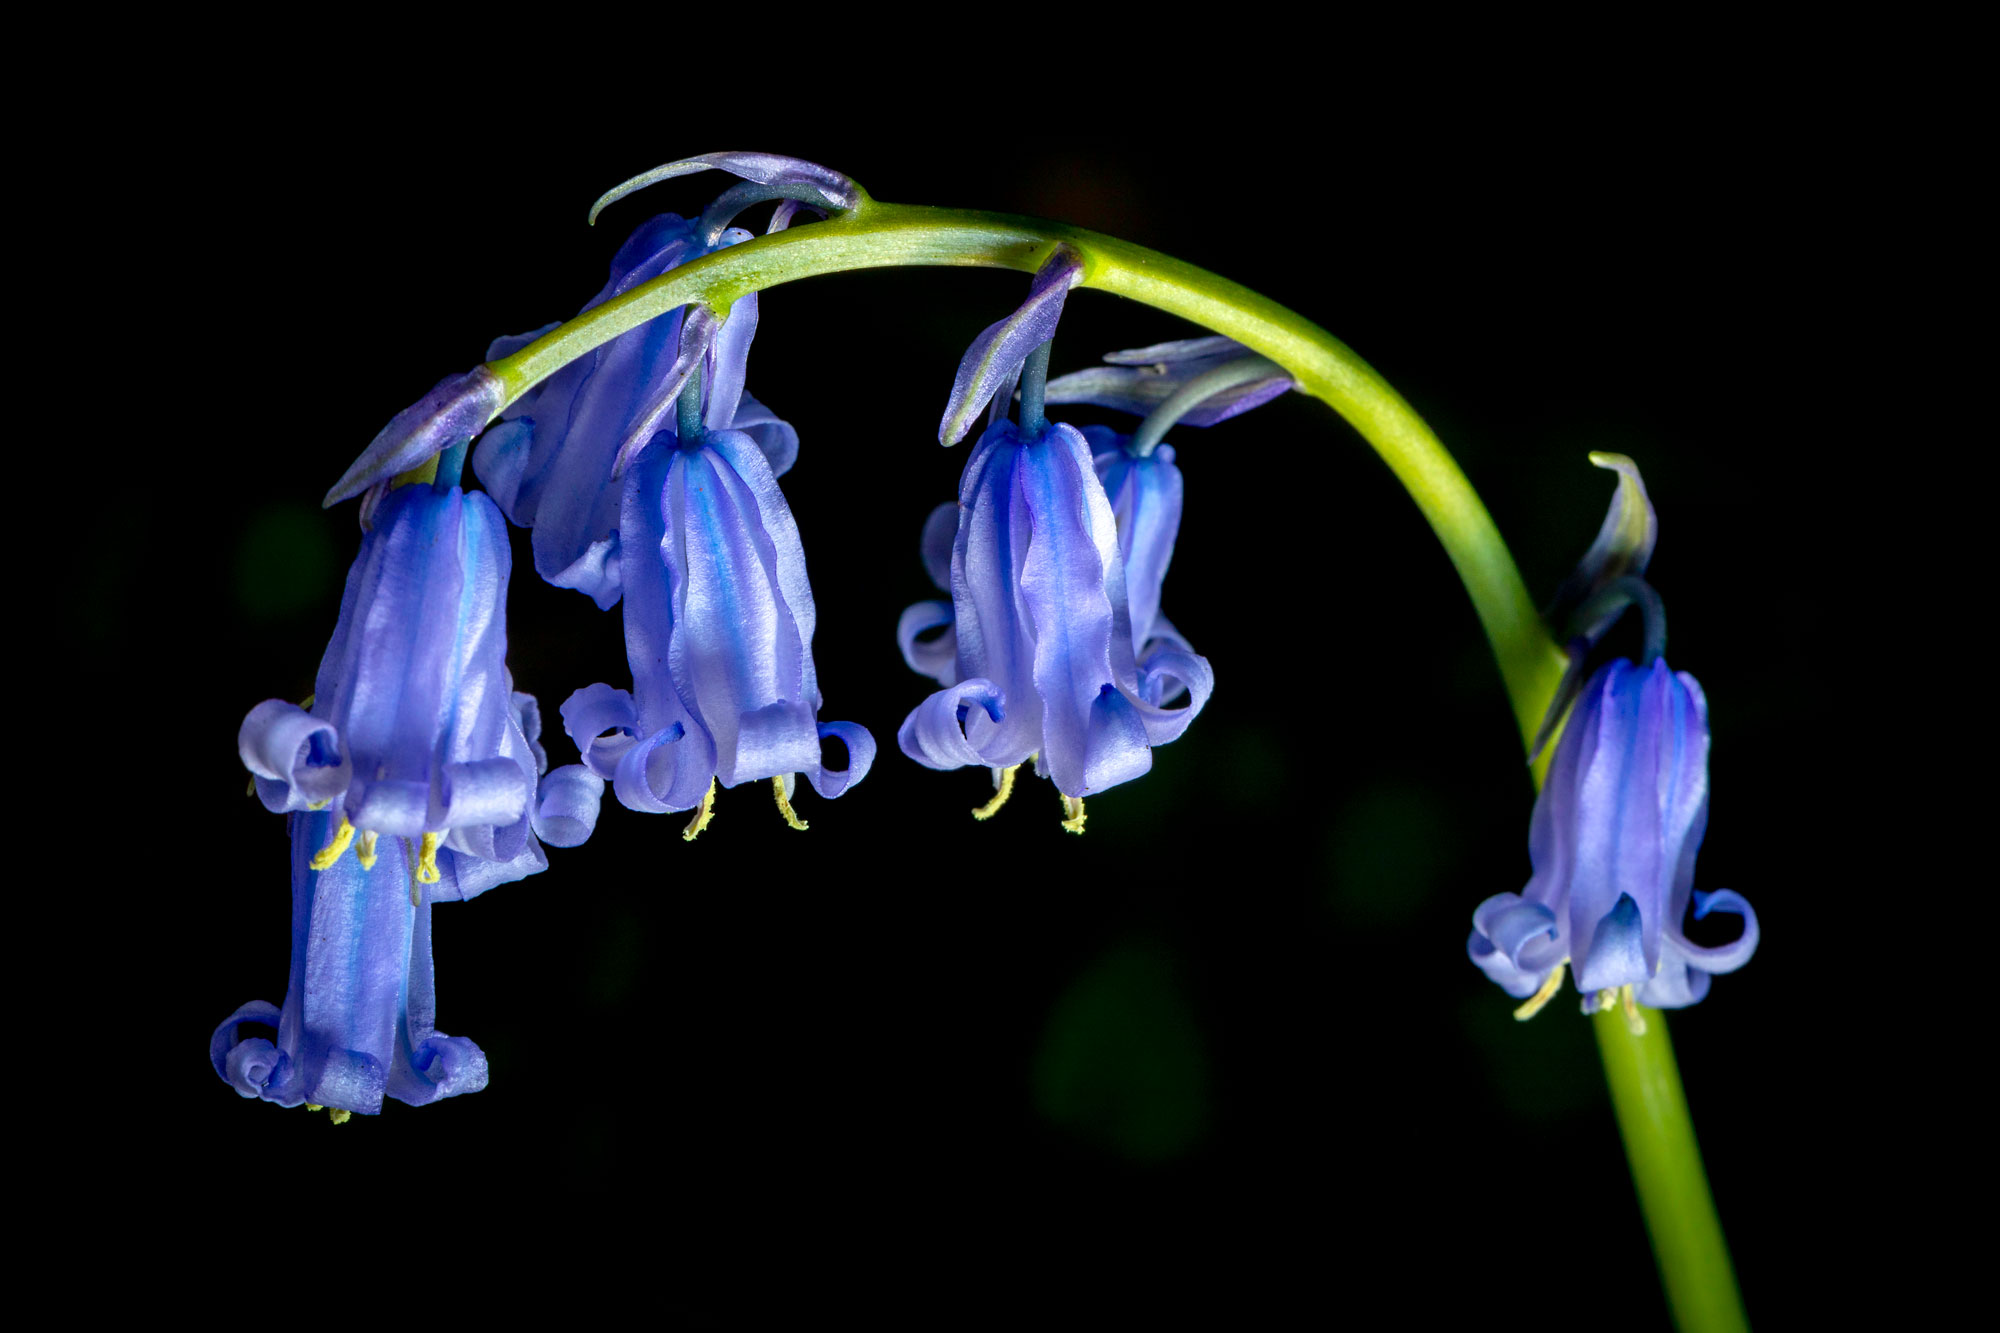
Composition: I aimed to photograph the flowers in my garden from an above point of view. By firing the flash directly at the flower, I would illuminate the centre, with the light falling off around the edges to create a black vignette. The pictures are full of contrast, and the colours are vivid. I like the effect, and I used the circular design of the flowers to fill the square crop.
the symmetry and geometry of nature.
I enjoyed this experimental approach to using the ring flash in this way and appreciated the sharpness and contrast in the images. Maybe next time, I will look out for some small insects to interact with the flowers. Nature certainly knows how to put on a good show—with beautiful symmetry and geometric design.
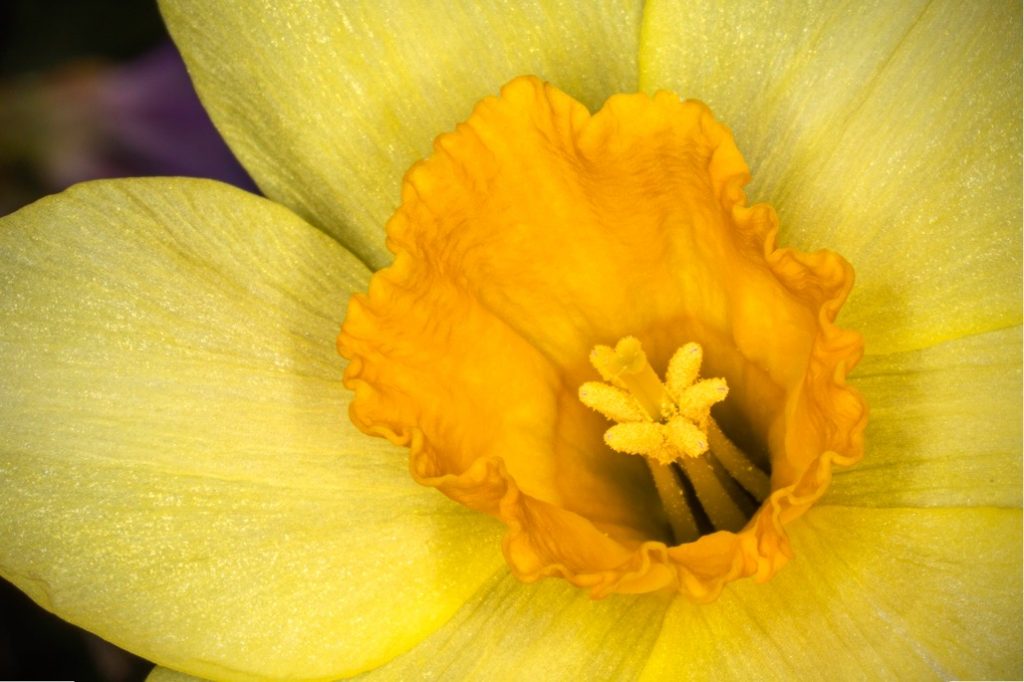
Intense yellow colours on a white background.
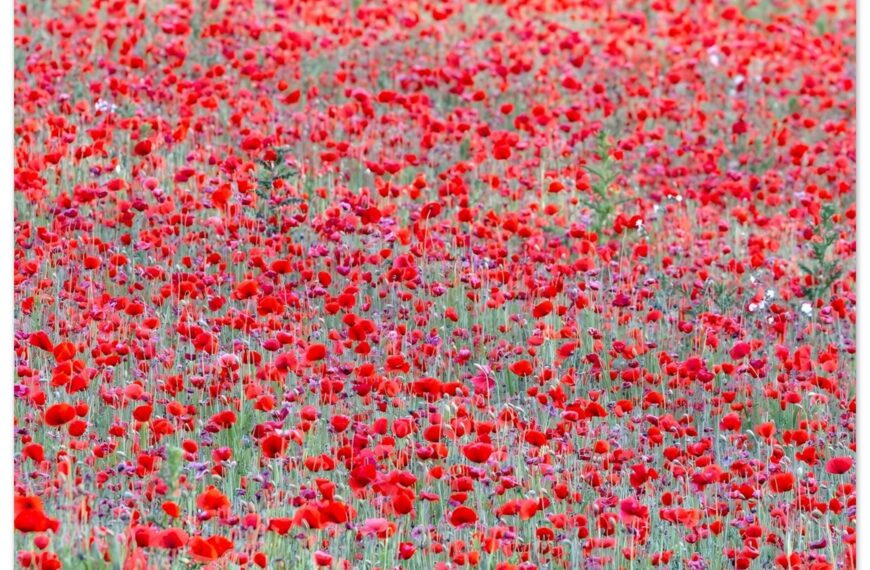
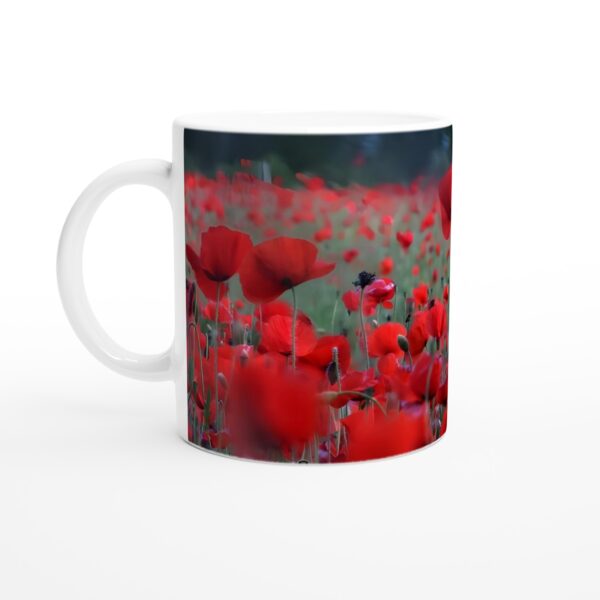
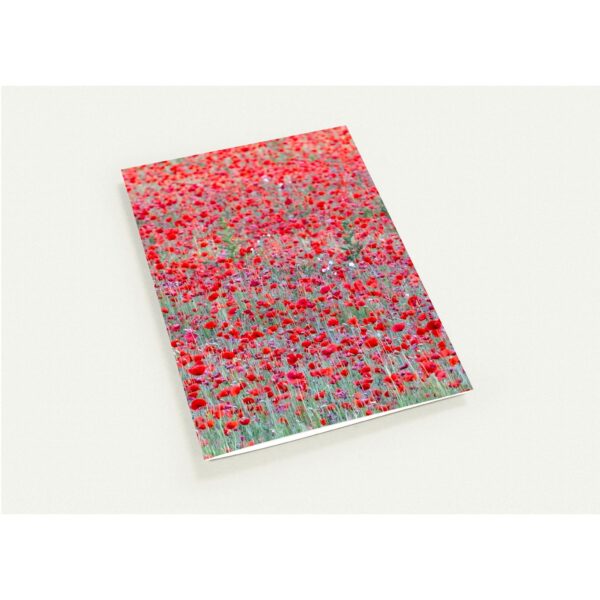
These pictures were of my flowers taken in my back garden. I also mentioned that I enjoyed pictures of wildflower landscapes. Please visit my link below to see a beautiful poppy field in Kinver, Staffordshire.
Using a ring flash in dentistry was second nature. Having learnt how to photograph the teeth and other structures around the mouth, macro was second nature. There were two good mentors to my macro photography. A medical photographer at Wordsley hospital. I can not remember her name and Wordsley hospital is no more. However she instilled a discipline and love of macro photography. Then there was Mike Sharland at Birmingham Dental School. He set up your camera and showed you how to gently rock back and forth using manual focus. The settings were Manual Flash half a second, aperture f/22, shutter speed 1/200s and an ISO 100. These are your go to settings and then you can experiment from here.
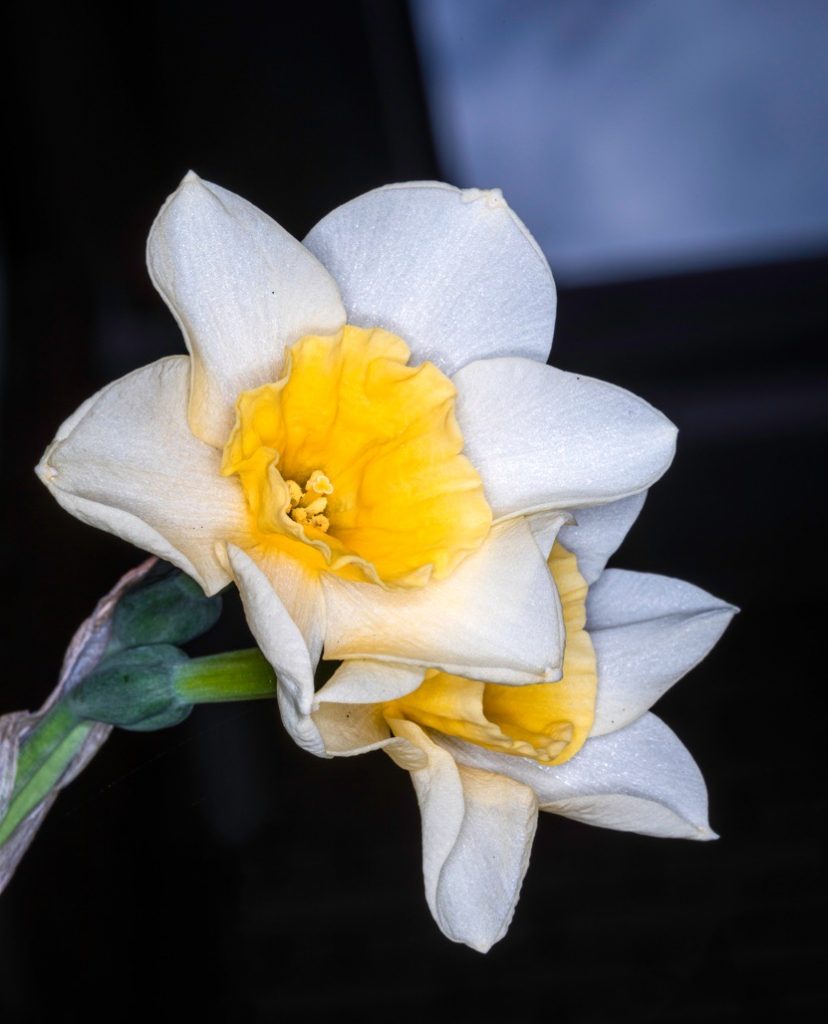
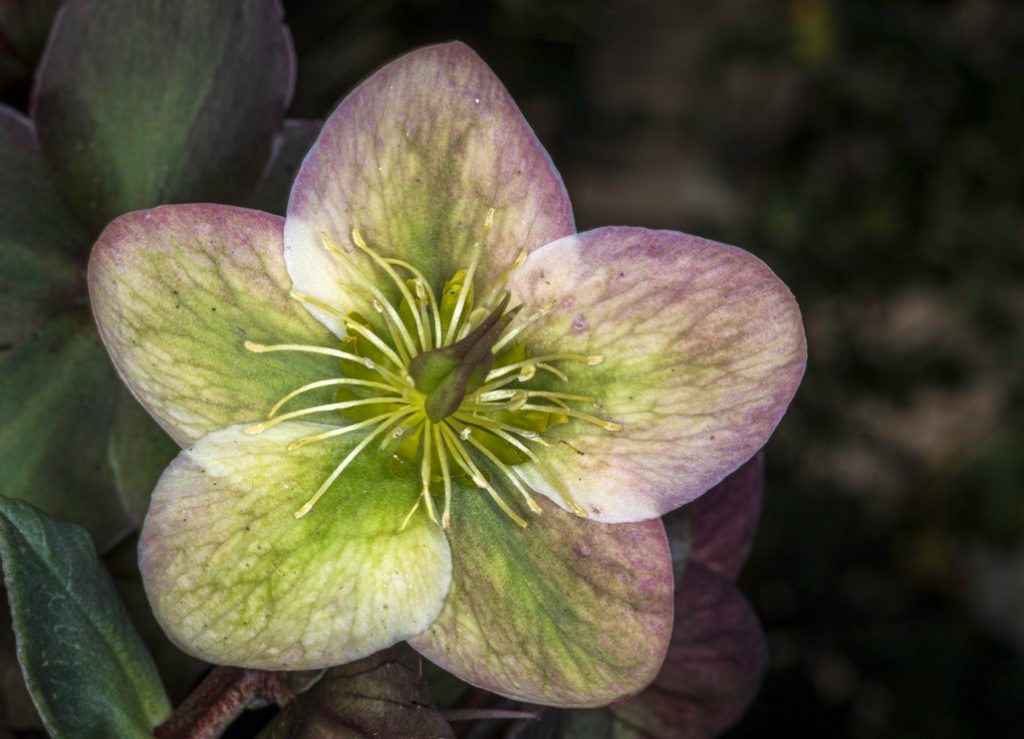
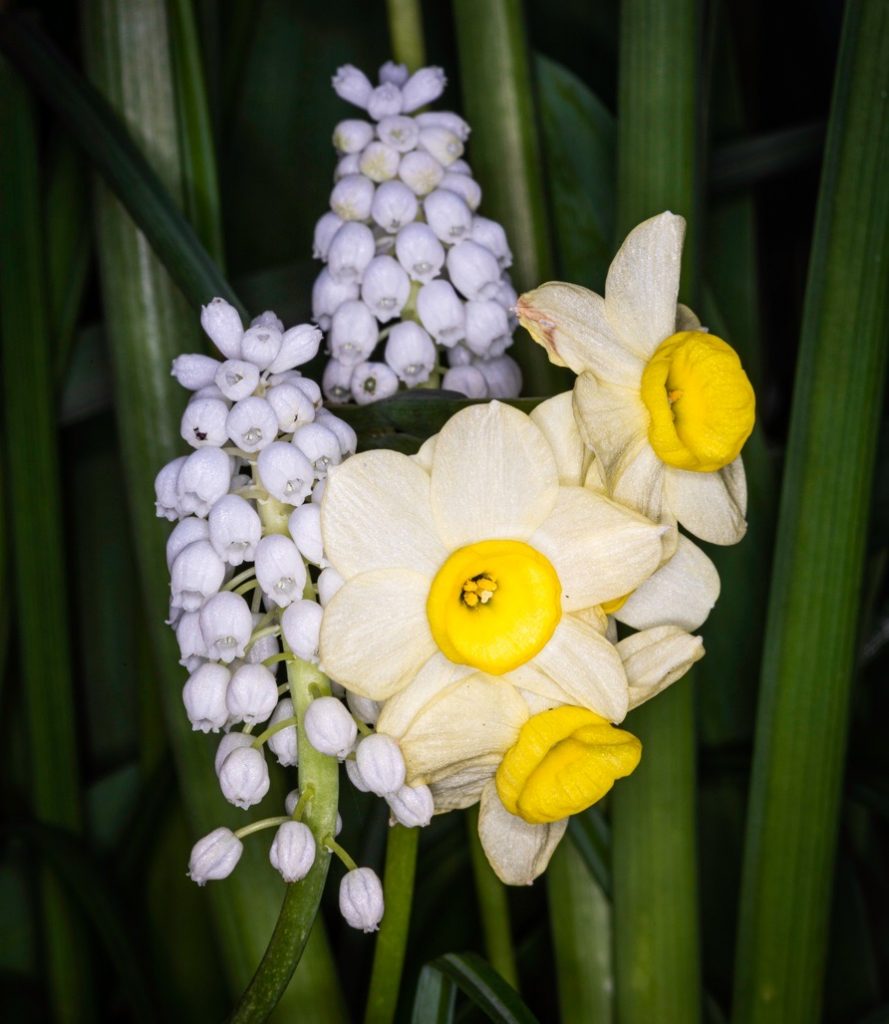
Close up of a wild Daffodil.Wild DaffodilsHellebores.
Gardens are just great places for macro weather you want to photograph flowers or insects such as bees and butterflies. I dusted off my macro lens with ring flash and wandered around the garden. For this series of photographs, I find the way that the subject is illuminated and the background is dark attractive. There is little in the way of distracting background around. Hope you enjoy these photographs of flowers. By the way, if you are like me and do not know the name of the flowers then there is a very good app, PictureThis, that takes a picture and hey presto the name of the flower is revealed.
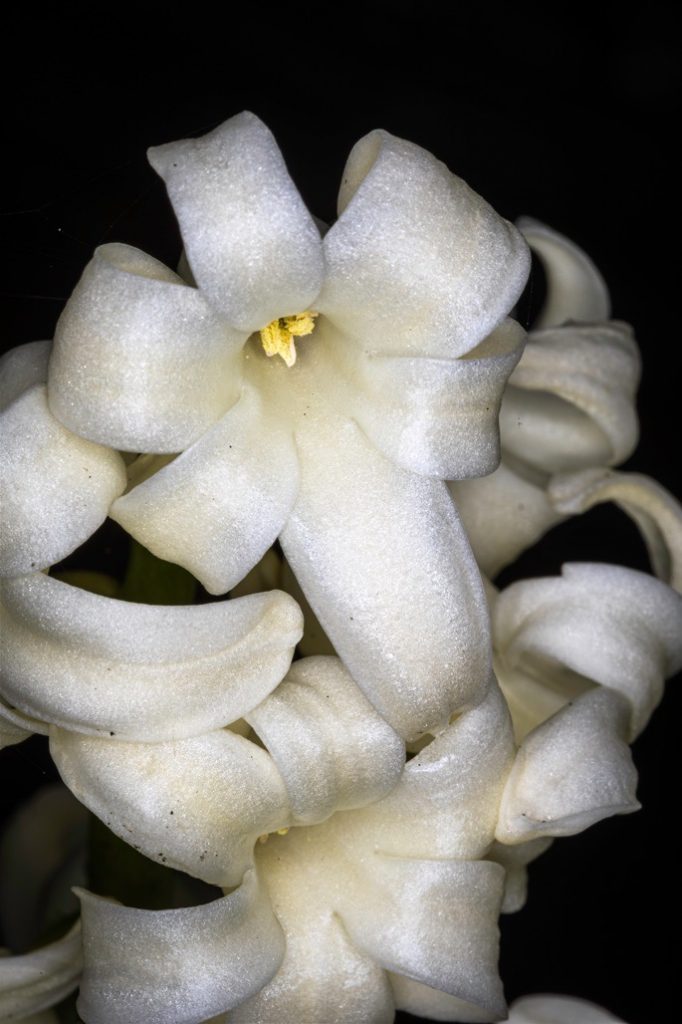
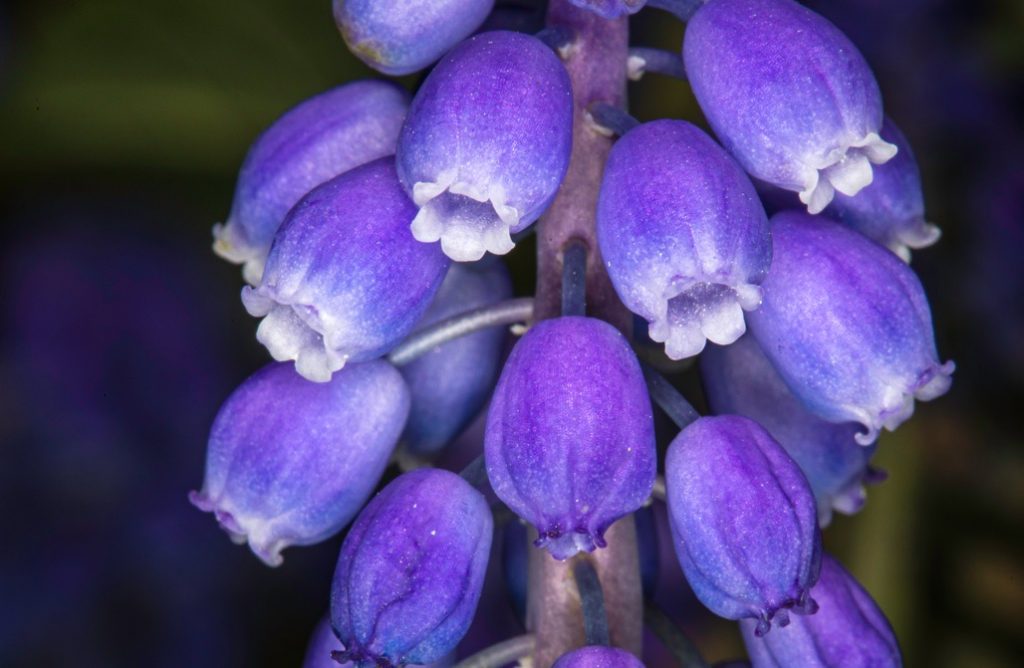
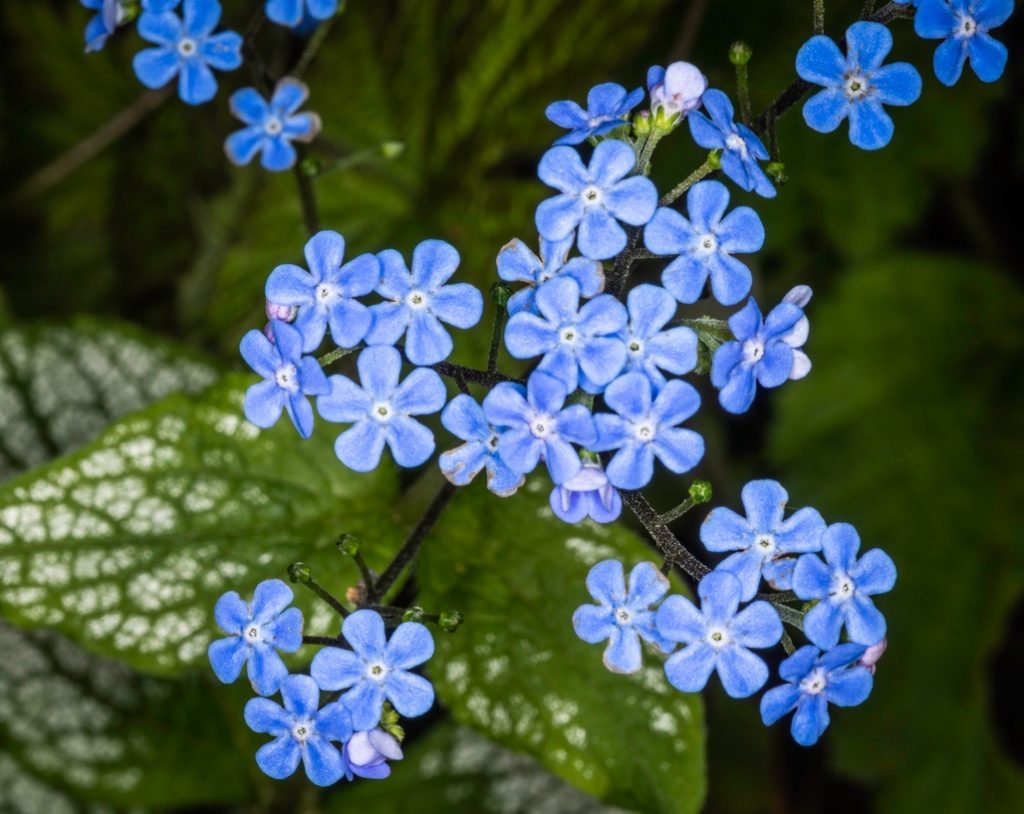
Daffodils and HyacinthsCommon Hyacinth.Grape hyacinth.Forget me not (Siberian bugloss)
As the University of Birmingham locked down so did Winterbourne house and gardens. There was still a small team of gardeners tendering the gardens during lockdown. As the restrictions eased, the gardens reopened to University staff on the 6th July. It is one of the perks of working at the University that you have free access to the Botanical gardens. I took the opportunity on a Friday afternoon to visit Winterbourne and it coincided with a break in the weather. Yes, the sun was seen in the sky! I brought along my macro lens and decided that it was going to be a close up day photographing the flowers and some of the friends that visit them as well.
A zoom of colour!Nature’s helperPricklySummer in full swing
I realise now that what I enjoy about garden photography is the symmetry of the flowers. Also I like the asymmetry that is overlayered on the symmetry. The colours and the flower arrangements right down to the petals play a part too.
Symmetry and coloursA busy beeLilies in the sunshine
Winterbourne has different areas to it and there is a brook at the bottom of the hill with an Japanese oriental garden. On the way down, there are many flower beds and open spaces. Towards the house there is the walled garden and glasshouses that have a large variety of interesting species.
Can you spot the spider?Lovely coloursA play on light and colour
Why do I love Winterbourne so much? I think it is the range of plants that come from around the world. Part of my role at the University is Director of Global Engagement. The Winterbourne Gardens web site mentions that the plant collection is taken from countries such as China, North and South America and the Alpine areas of the world. Maybe this is why walking around the Botanical Gardens feels as if you are undertaking international travel in a short space of time and distance.
Temporary entrance with social distancing sign into the walled gardenThe lime walkWalkway through the gardenSymmetry in the onion vegetable patch
Finally, whilst I love taking pictures of the plants, I do not know many of their names. So if anyone is able to help so that I can name them correctly it would be very much appreciated 🙂
In the present lockdown situation, there has been the opportunity to take up different photographic projects that due to a busy lifestyle you would not normally have the time to complete. My photography revolves around my job which is travelling to conferences, my daily commute into Birmingham and the growing family. I have tried my hand at other forms of photography but not really had the time to look at it in detail. I belong to a photographic group which is part of the BritshTechNetwork and the convenor Ewen Rankin, a professional photographer has been setting us photographic tasks (https://www.britishtechnetwork.com/category/photo). These have been included water droplets and colourful reflections on the top of bubbles.
The one that I found fascinating was oil on water. I have revisited the technique a couple of times and I was very pleased that one of my pictures was selected in the Top 4 of a recent #ShareMondays2020 competition on Twitter. I therefore decided to write up how I obtained the colourful picture and show you how straightforward the technique can be. If done well it does produce very striking colourful abstract photographs.
Equipment
The set-up is fairly simple. You need a sturdy tripod with a horizontal arm that can help position the camera over the water. A good deep bowl is needed, here a glass Pyrex water jug is used. I have a small raised table that I use for my laptop work. The jug is placed on a colourful background on the table. In this case I have used a well-known children’s book and there is a patchwork of different colours that will provide an interesting background. A strong light source is needed and I have placed this to lean into the jug. Please be careful as there is a mix of electrical wires and water so do take the necessary precautions. The continuous light was provided by a Rotolight NEO2 set at an angle. My work table has some grooves which allowed the light to be stabilised at the base.
What is needed – Tripod, washing up liquid, Camera with macro lens, NEO2, Olive Oil, Colour background, teaspoon and water jug and small table to place jug on.Positioning the light against the jug of water placed on the background
Technique
A small amount of Olive oil is placed in a teaspoon and dropped onto the surface of the water. It is often difficult to make out the oil on the water so it is with careful trial and error that the macro lens is positioned to focus on the water surface and the oil. The teaspoon is also used to gently stir the water although later we agitate the surface more vigorously.
Camera settings
The camera used was a Canon D5 with a 100mm macro lens. The focus was set at f/2 which throws the background out of focus. I used a fast shutter speed (s/250) as the oil droplets will circulate quickly as it gets stirred up more and more. Using live view assists with the focussing. I upped the ISO to 800 so that I got a clear image on the back of the camera. I adjusted the set up so that I could bring a chair up close in order to sit comfortably and just concentrate on the photography. Manual focus was used throughout to ensure sharp pictures.
Advanced technique
After the oil is photographed then the next steps include adding washing up liquid to the water. This changes the surface tension of the water and introduces more shapes. It also creates more bubbles which can once again be guided by the teaspoon. Changing the firing mode to continuous shooting allows you to capture different combinations as the water moves around following stirring/agitation. Also remember to move, position or change the background to get different colour effects.
Processing
The pictures are uploaded into Lightroom for processing and you are free to follow your normal preferred settings. There may be a need for creative cropping to get the best abstract picture. I like looking at the shapes and the symmetry or just letting my artistic decisions rule my cropping. Two tips for oil and water pictures. Increase your saturation levels to a much higher setting than normal. The water absorbs the light and your pictures will initially look dull. Increasing the saturation compensates for this and gives pleasing results. I also move the picture into Photoshop where I apply an unsharp mask and adjust the levels to give the best exposure.
The saturation is increased to around 40 in Lightroom
Summary
This technique is straightforward and produces some stunning abstract photography that you will be proud to display on your monitor or on your wall. It is easy to set up and is a useful introduction into macro photography. Have fun and enjoy taking the photographs.
During the weeks of lockdown, the garden flowers and blossom start to look very attractive objects to photograph. luckily I have my macro 100mm and ring flash to take pictures. I have also experimented with different views of the flowers from the more traditional look to close up macro. I have also looked at different lighting approaches. Here are a few of my pictures taken in my garden during April 2020 lockdown.
Dragon head flowersThis was a stacked picture of 6 photographsStar TulipMagnolia BlossomThe colour purpleDandelion close up….but the flowers have a limited life
Keeping motivated under a lockdown does mean that you are ready to try out new ideas. I have always been fascinated by oil and water pictures so with time on my hands I decided to give it a go. What you need is a macro lens and off camera flash. Then to get a big bowl of water on top of some colourful paper or fabric. Set up the camera using a tripod so that is is over the surface of the water. Start dropping in some Olive Oil and/or washing liquid. Then start taking pictures. Here is a nice link from PhotoCrowd https://www.photocrowd.com/…/158-11-tips-creating…/
There is still some work to do after taking the pictures and opening up Lightroom initially the pictures will look a bit dull. Look at that histogram and ensure you have a good distribution and that you use the highlight and shadows sliders wisely. The exposure should be adjusted and then you may need to push the saturation up to around 40 points on the scale. Then after some cropping of the picture a few of the final results are shown here. This is definitely a project that I will be going back to at a later date.
We use cookies on our website to give you the most relevant experience by remembering your preferences and repeat visits. By clicking “Accept”, you consent to the use of ALL the cookies.
This website uses cookies to improve your experience while you navigate through the website. Out of these, the cookies that are categorized as necessary are stored on your browser as they are essential for the working of basic functionalities of the website. We also use third-party cookies that help us analyze and understand how you use this website. These cookies will be stored in your browser only with your consent. You also have the option to opt-out of these cookies. But opting out of some of these cookies may affect your browsing experience.
Necessary cookies are absolutely essential for the website to function properly. These cookies ensure basic functionalities and security features of the website, anonymously.
Cookie
Duration
Description
cookielawinfo-checkbox-analytics
11 months
This cookie is set by GDPR Cookie Consent plugin. The cookie is used to store the user consent for the cookies in the category "Analytics".
cookielawinfo-checkbox-functional
11 months
The cookie is set by GDPR cookie consent to record the user consent for the cookies in the category "Functional".
cookielawinfo-checkbox-necessary
11 months
This cookie is set by GDPR Cookie Consent plugin. The cookies is used to store the user consent for the cookies in the category "Necessary".
cookielawinfo-checkbox-others
11 months
This cookie is set by GDPR Cookie Consent plugin. The cookie is used to store the user consent for the cookies in the category "Other.
cookielawinfo-checkbox-performance
11 months
This cookie is set by GDPR Cookie Consent plugin. The cookie is used to store the user consent for the cookies in the category "Performance".
viewed_cookie_policy
11 months
The cookie is set by the GDPR Cookie Consent plugin and is used to store whether or not user has consented to the use of cookies. It does not store any personal data.
Functional cookies help to perform certain functionalities like sharing the content of the website on social media platforms, collect feedbacks, and other third-party features.
Performance cookies are used to understand and analyze the key performance indexes of the website which helps in delivering a better user experience for the visitors.
Analytical cookies are used to understand how visitors interact with the website. These cookies help provide information on metrics the number of visitors, bounce rate, traffic source, etc.
Advertisement cookies are used to provide visitors with relevant ads and marketing campaigns. These cookies track visitors across websites and collect information to provide customized ads.